
Billing and payment methods
Winston charges a payment method you keep on file for your plan, for credits you buy and for auto-recharge. You can save a credit or debit card, link a bank account, or keep both. This page shows how to add each one, which of the two gets charged, and where to find the invoice afterwards.
What you can pay with
Those are the two payment methods Billing offers. You can keep one of each on file and choose which is the default.
Before you start
- You need to be the workspace Owner or an Admin. Members can see Billing but cannot add, replace or remove a payment method.
- A payment method has to be on file before you choose a plan or buy credits. Both buttons stay unavailable until a card is saved or a bank is linked.
- Have a mobile number that can receive text messages. Linking a bank verifies you by a code sent to it, and landline, VoIP and prepaid numbers are refused.
- Confirm you are in the right workspace. Billing belongs to the workspace, not to you, and every workspace is billed separately.
Where to find it
Open Settings → Billing → Payment methods. Billing has five tabs, and Payment methods is the fourth: Overview, Plans, Usage, Payment methods, Invoices. On the Payment methods tab there are three sub-tabs: Card, Bank account and Default method, with Card selected first. If your workspace has only one of the two methods available, you see that one without the sub-tabs.
Overview also gets you there: the Finish setting up billing box and the Add a payment method button both open this tab when nothing is on file yet.
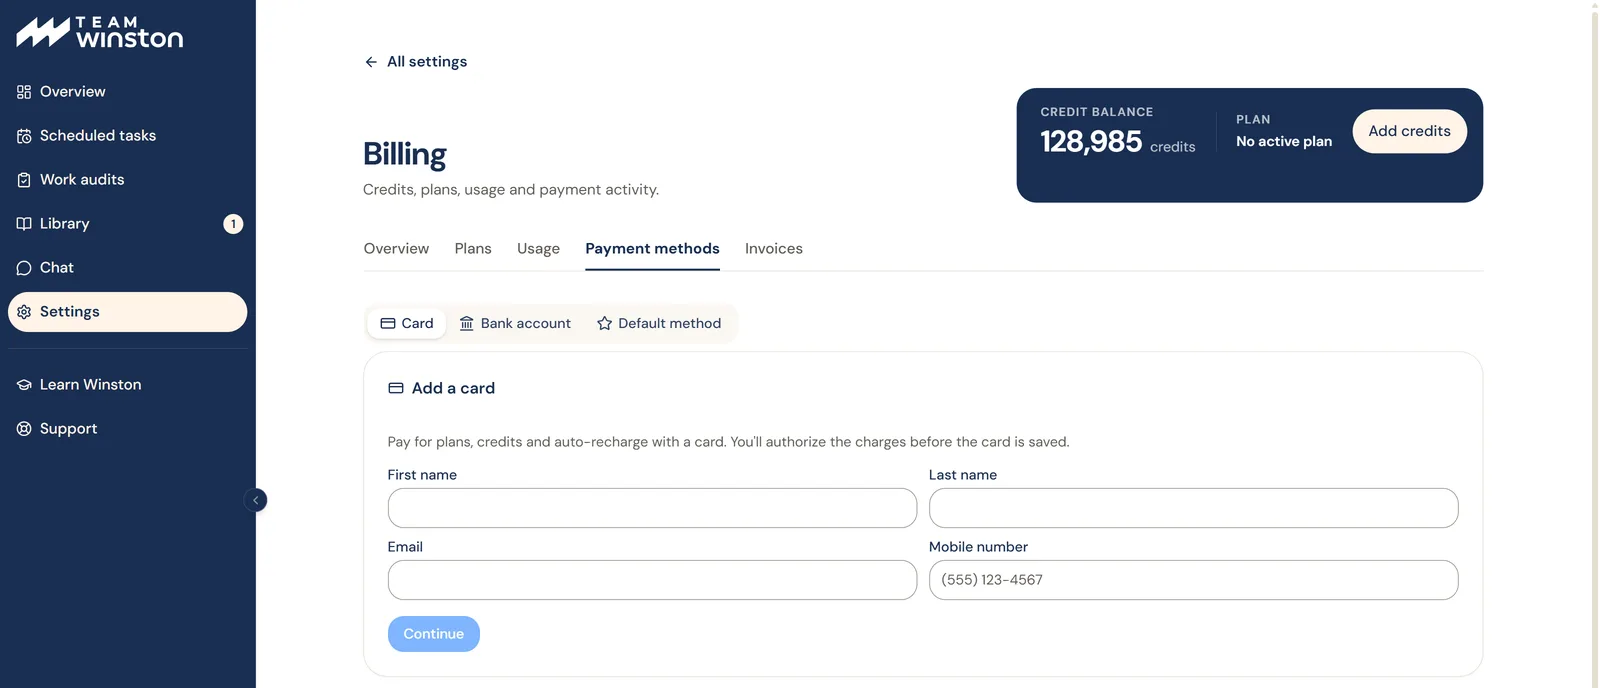
Add a credit or debit card
- On the Card sub-tab, fill in First name, Last name, Email and Mobile number, then choose Continue. These are the billing contact details for the card; there is no text-message step for a card.
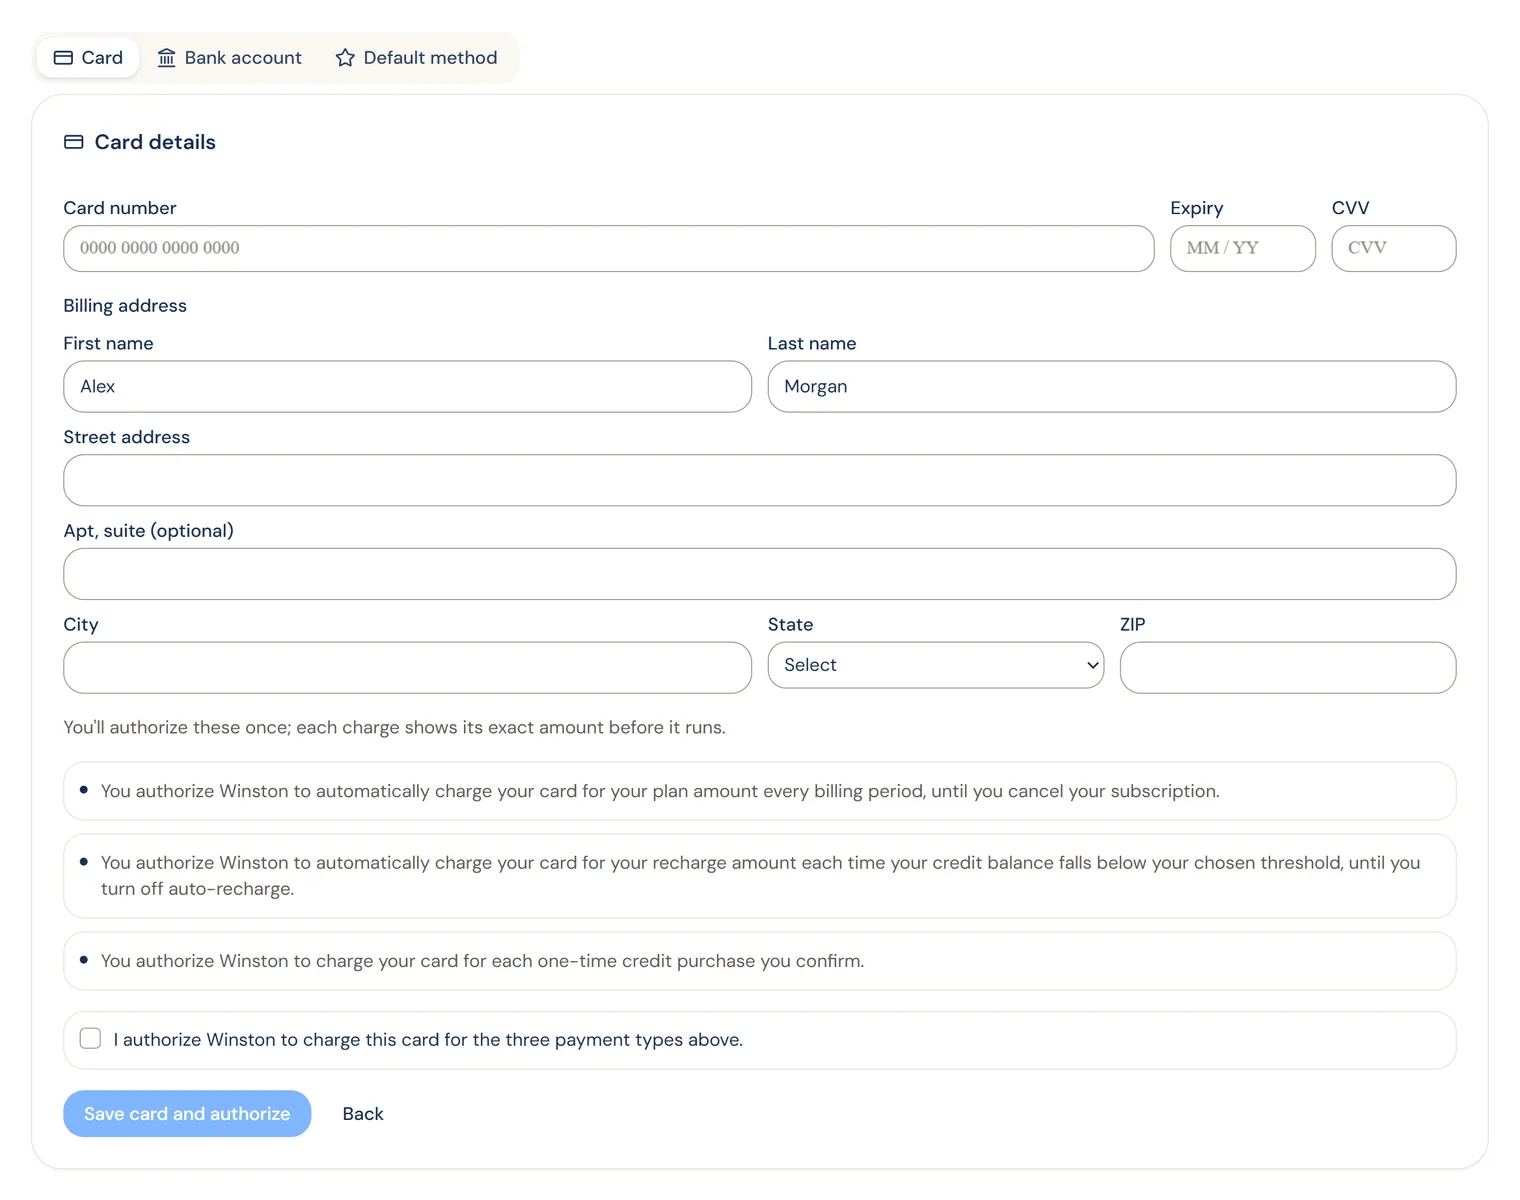
- Under Card details, type the Card number, Expiry and CVV. Wait for Loading secure card fields… to clear before typing. The three boxes are hosted by the card processor, so the number never passes through Winston.
- Fill in the billing address: the name on the card, street address, city, State and a five-digit ZIP. Addresses are US only.
- Read the three authorizations listed under the address. They cover your plan amount every billing period, your auto-recharge amount whenever the balance falls below the threshold you set, and each one-time credit purchase you confirm. Tick I authorize Winston to charge this card for the three payment types above.
- Choose Save card and authorize. A toast confirms Card saved. You can now choose a plan and buy credits.
Once saved, the Card sub-tab shows the card as Card ending 1111 with its expiry date, a status badge, and two buttons: Replace card and Remove. Under the card a line tells you whether this is the method Winston charges (see which method is charged below).
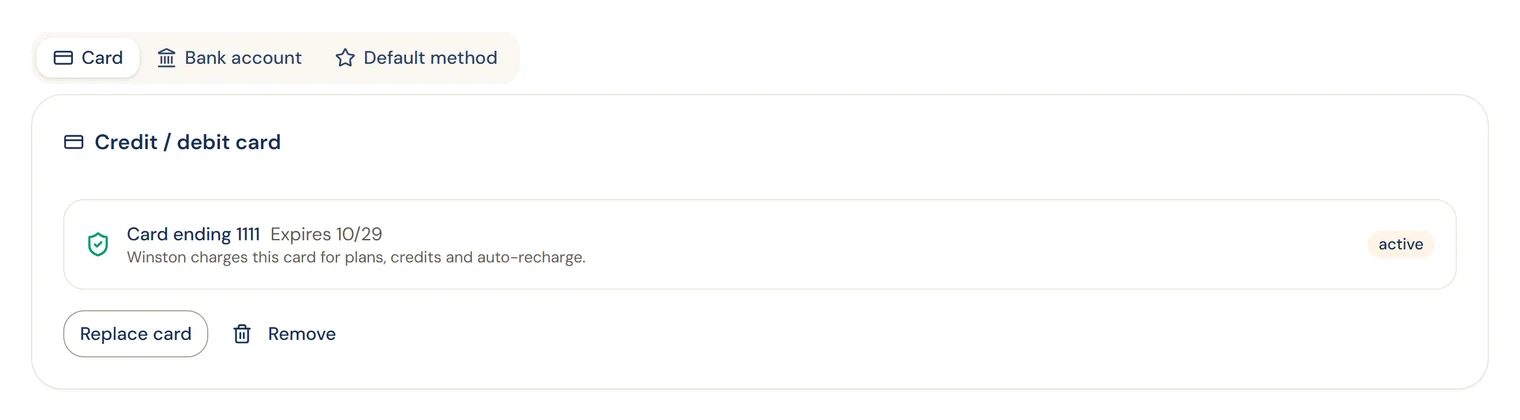
Replace or remove a card
Replace card skips the contact step and goes straight to Card details. The new card is saved before the old one is deleted, so there is never a moment with no card on file and a renewal cannot fall into the gap. Use it when a card expires or is reissued.
Remove asks you to confirm first. The confirmation says whether the card is your default method. If it is not, nothing that charges automatically is affected. If it is, your subscription and auto-recharge payments cannot be charged until you set another default: Winston does not switch to your bank on its own, so open Default method and choose it, or add another card. Once removed, the sub-tab returns to the Add a card form.
Link a bank account
- On the Bank account sub-tab, fill in First name, Last name, Email and Mobile number, then choose Continue. Winston debits the bank directly, with no processing fees passed on. A note under the form says payment and account communications will come directly from Aeropay, the bank-payment provider, by text or email.
- Verify your phone. Enter the code sent to your mobile number and continue. If the number is refused, the reason appears under the field; use a mobile number that can receive texts.
- Choose a bank. If you have linked a bank before, it is listed with a button to select it. Otherwise choose Add a different bank, which opens a secure window to sign in to your bank. This can take up to ten seconds to appear. Your bank sign-in stays with the provider; Winston receives only a reference to the account.
- Authorize your payments. Read the three debit authorizations (plan amount each period, auto-recharge amount, one-time purchases), tick the box and choose Link bank and authorize. A toast confirms Bank linked. You can now choose a plan and buy credits.
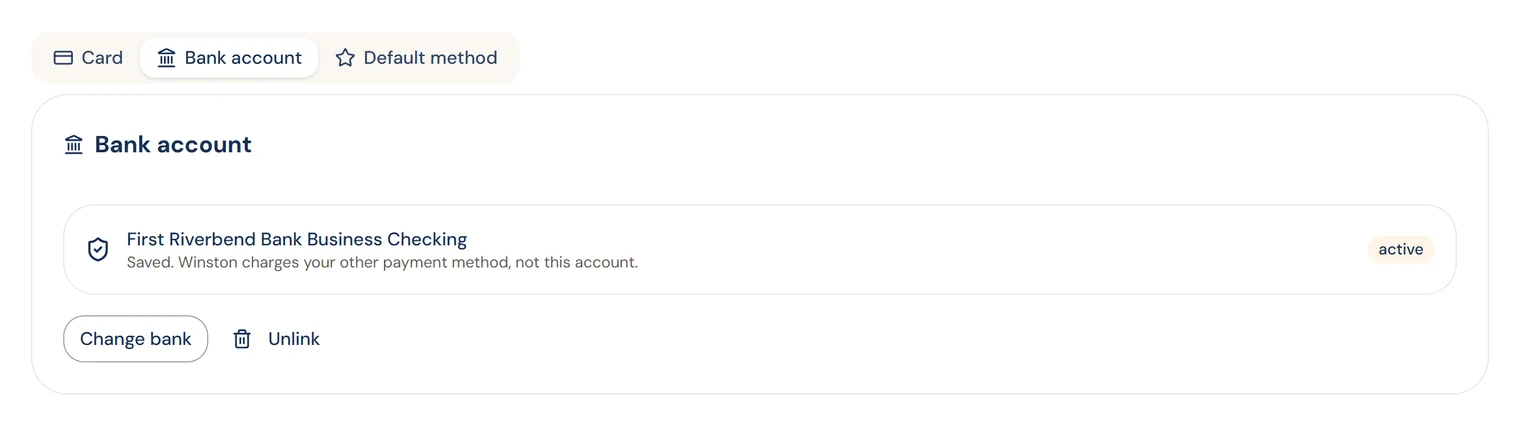
A linked bank shows its bank name and account label, never the account digits, with Change bank and Unlink. Change bank returns you to the Choose a bank step. Unlink asks you to confirm, with the same warning as removing a card: if the bank is your default method, subscription and auto-recharge payments stop until you set another default.
Which method is charged
With one payment method on file there is nothing to choose: that method pays for everything. With a card and a bank on file, one of them is the default, and renewals and auto-recharge always go to the default. The Card and Bank account sub-tabs each say which it is: the default reads Winston charges this card for plans, credits and auto-recharge, the other reads Saved. Winston charges your other payment method, not this card (or account).
To change it, open the Default method sub-tab. It lists every method on file with a Default badge on the current one and a Make default button on the other. Choose Make default and confirm; a toast says which method is now the default. If the sub-tab says No default is set, so subscription and auto-recharge cannot be charged, choose one there.
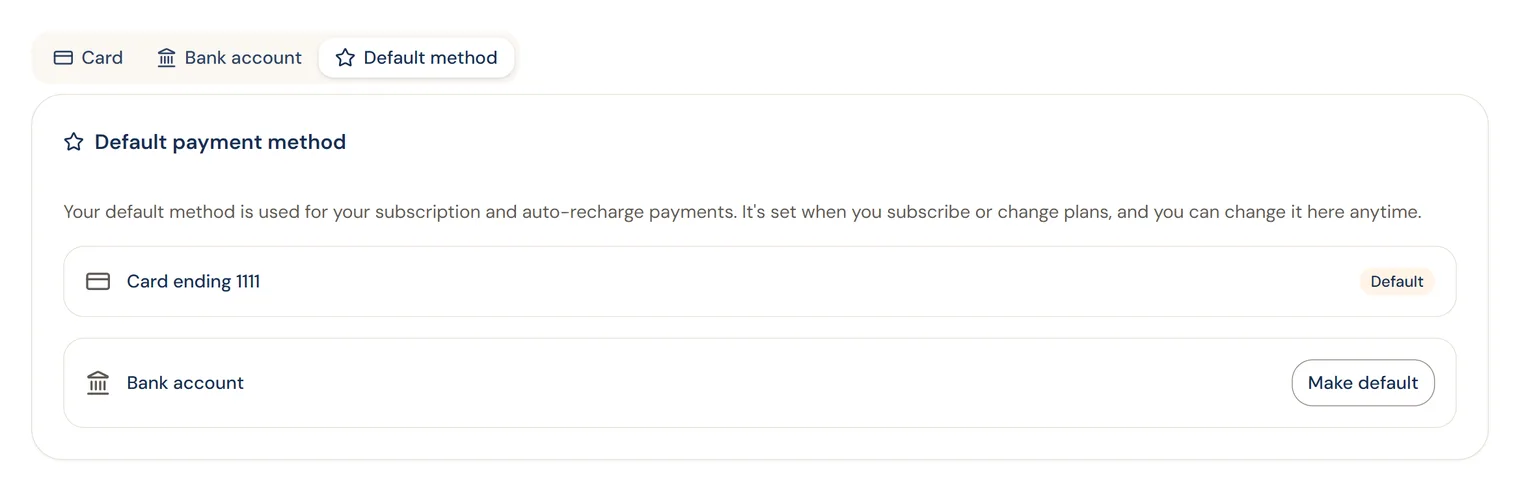
When you subscribe, change plan or buy credits, a confirmation dialog states the exact amount before anything is charged. With both a card and a bank on file, check in that dialog which method will pay. Renewals and auto-recharge have no dialog: they charge the default method, and if the default has been removed and no other is set, the charge fails until you set one.
When you are charged
A monthly plan is charged on the same calendar day each month as the day you subscribed. If a month is shorter than that day (the 29th, 30th or 31st), that month is charged on its last day and the original day resumes the month after. A yearly plan is charged on the same date each year. Auto-recharge charges whenever your balance falls below the threshold you set on the Plans tab; a one-time purchase charges as soon as you confirm it.
Invoices and receipts
Every charge appears on the Invoices tab. The invoice number and the PDF become available once the charge settles; until then the row reads Not issued yet and the download reads Available once this charge settles. A bank debit takes longer to settle than a card charge, so its invoice appears later. The company name, billing email, address and optional tax ID printed on each invoice are under Invoice contact information, below the tabs on the Billing page. Invoices and receipts are emailed to that billing email, and an owner or admin can edit it.
The Overview tab's purchase history lists the same charges with the credits each one added, and Usage shows where those credits went. See Credits and billing for how credits, plans and auto-recharge fit together.
If something goes wrong
For anything else, including a charge you do not recognize or an invoice that needs changing, open Support from the ? menu. Say which workspace and which charge you mean; do not paste card or account numbers into Chat or a support message.
Back to Account and access.