Connect QuickBooks Online
QuickBooks Online connects through Intuit's own sign-in, so the flow moves between three windows: Winston, a small link window, and Intuit. Each step below shows what you should be looking at, and what to do if a step does not happen.
Connect it in Winston
Open Settings → Connections and find the QuickBooks Online card. It is under the Finance category, or type "quick" into the search box.
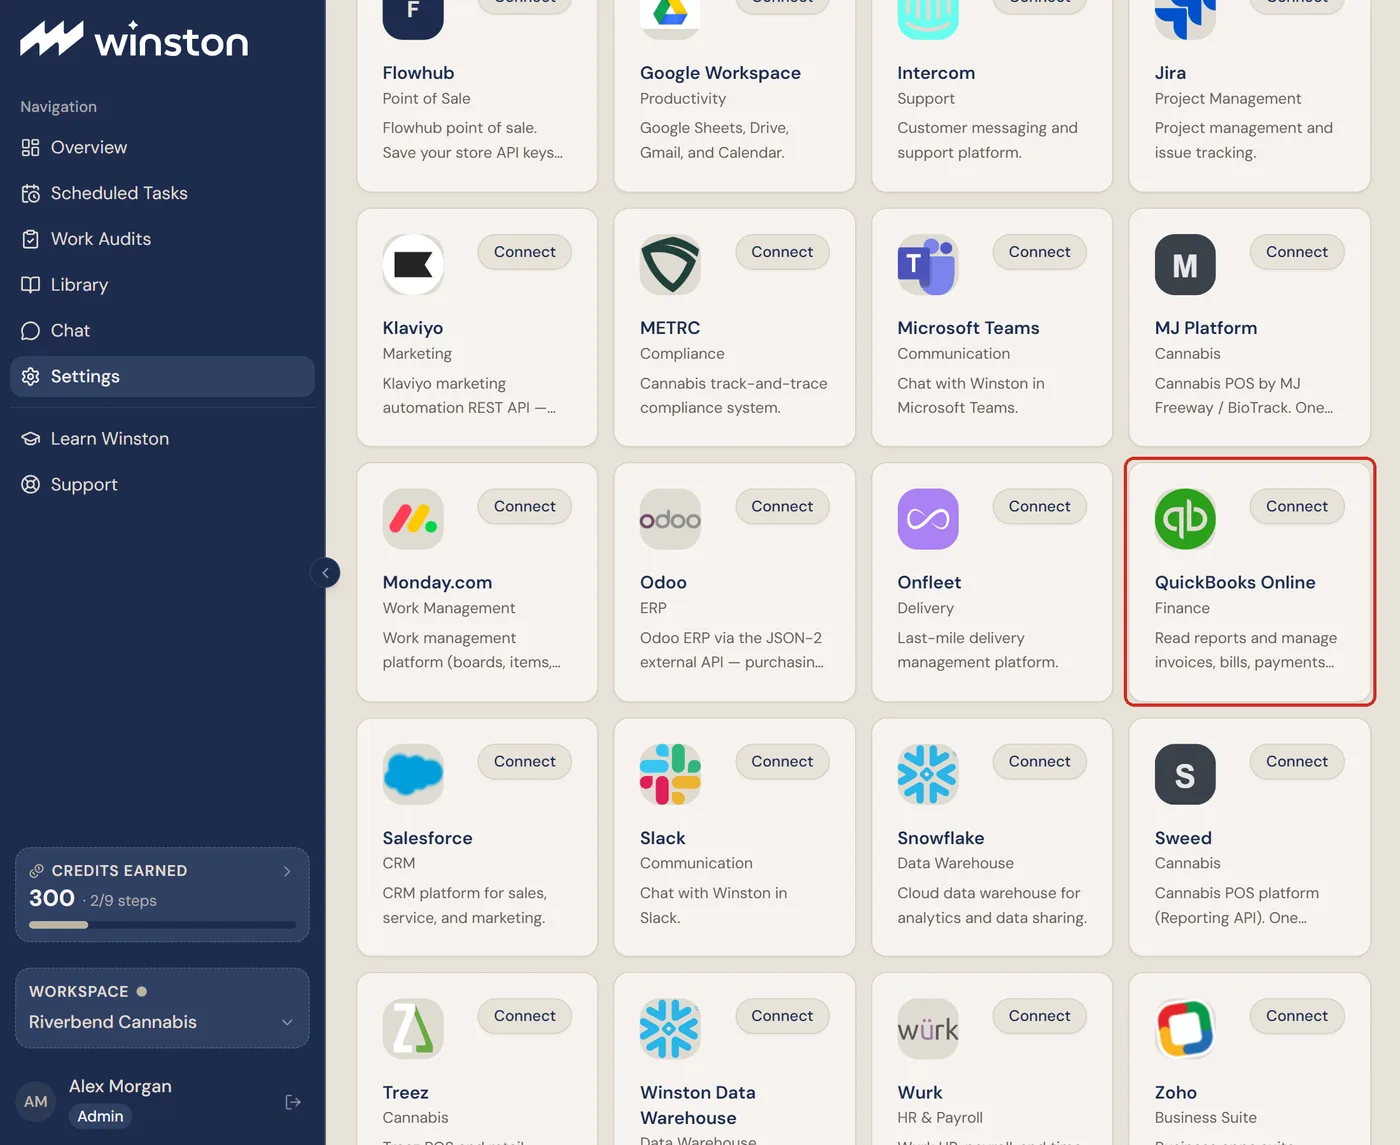
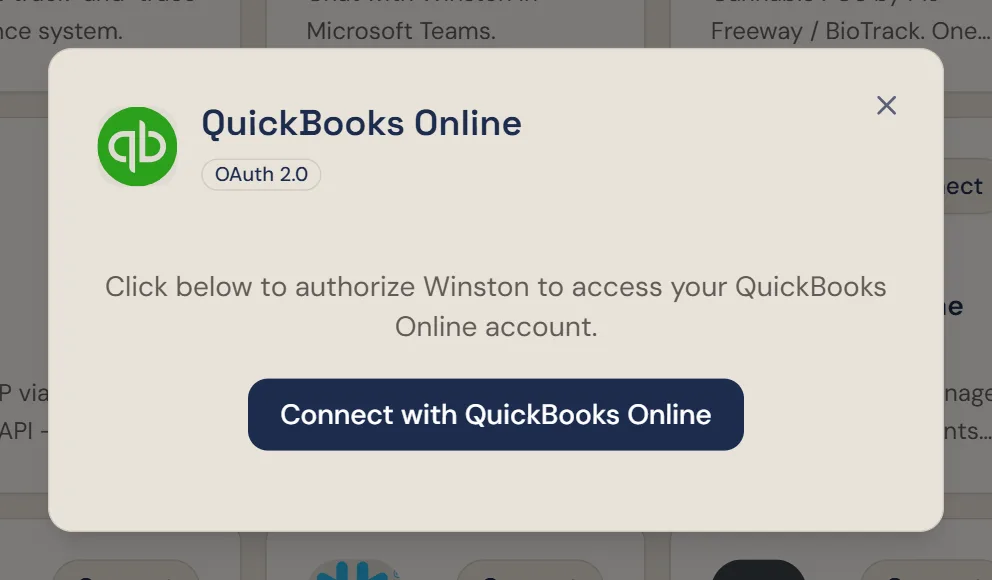
The dialog names the method, OAuth 2.0, which means Winston never sees your Intuit password. It receives an authorization that Intuit can revoke at any time.
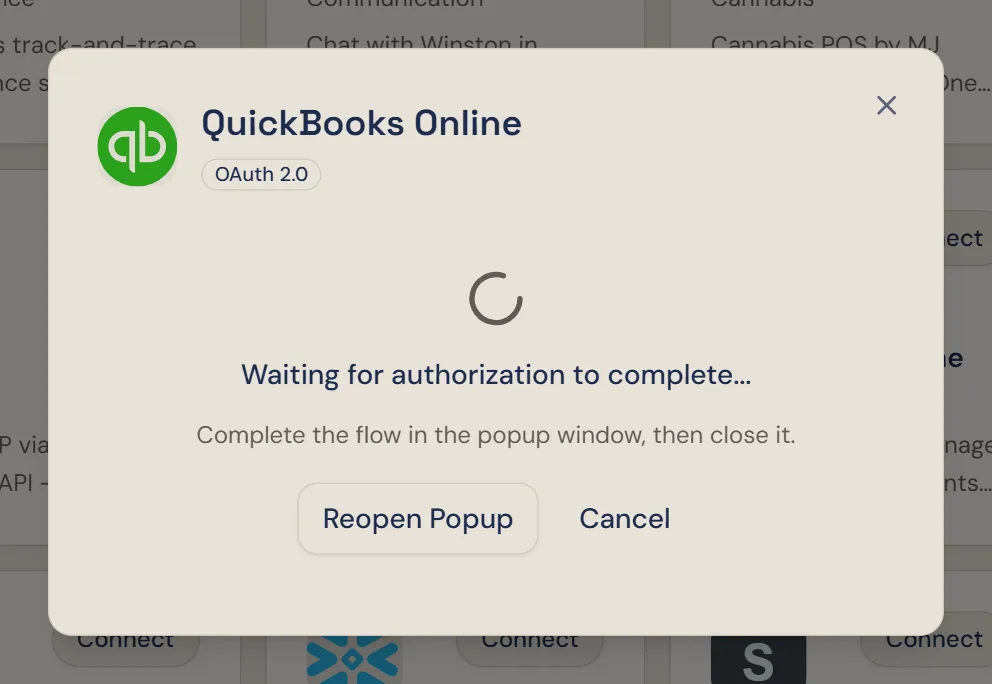
Winston then waits. Leave this dialog open while you finish the other windows; if the link window is hidden behind something, Reopen Popup brings it back.
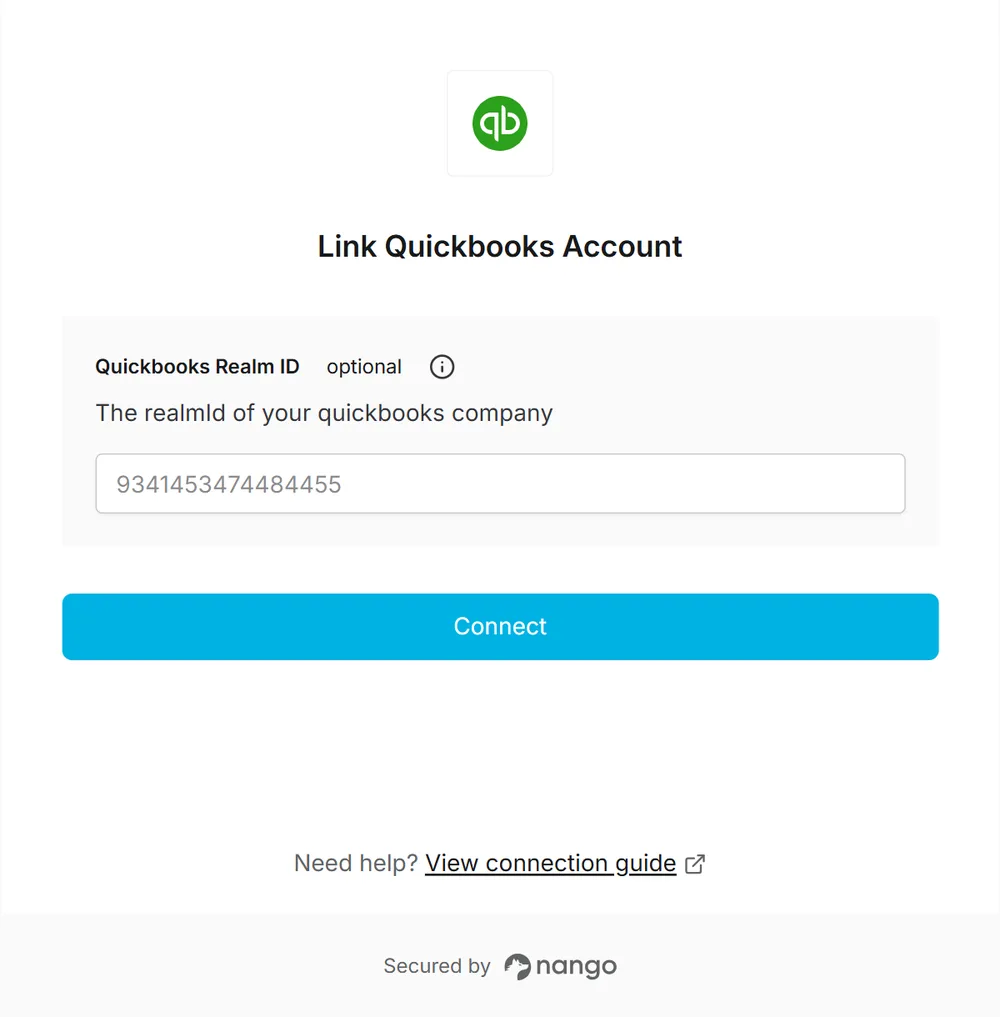
The link window
The first window is titled Link Quickbooks Account. It is run by Nango, the service Winston uses to hold OAuth connections, which is why its address is connect.nango.dev rather than winston.team. Leave the Realm ID field empty: Intuit supplies the company id in the next step. Choose Connect.
Sign in at Intuit and choose a company
The second window is Intuit's. Sign in with the Intuit login that administers the QuickBooks company. If you are already signed in on this browser, Intuit offers that account first.
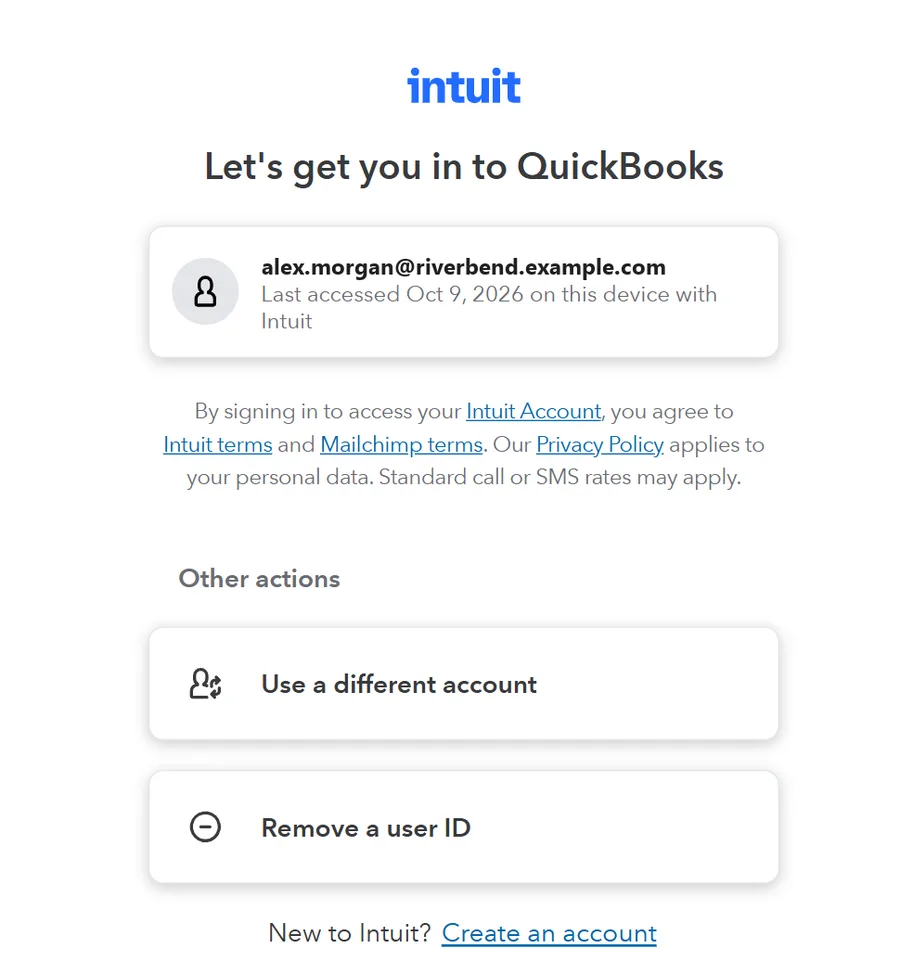
Intuit may then ask which company to share, if your login has more than one, and show what Winston is asking for: QuickBooks accounting data, which covers reports, invoices, bills, payments and accounts. Check the company name before you choose Connect. If you have authorized Winston on this company before, Intuit skips that page.
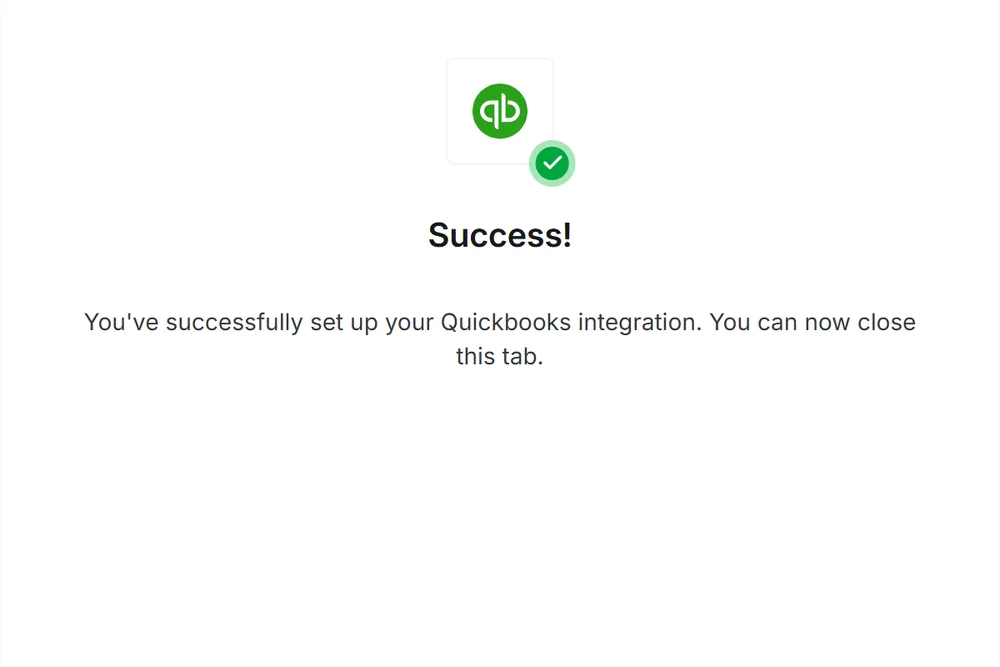
The link window then reports Success. Close it; Winston completes the connection the moment it closes.
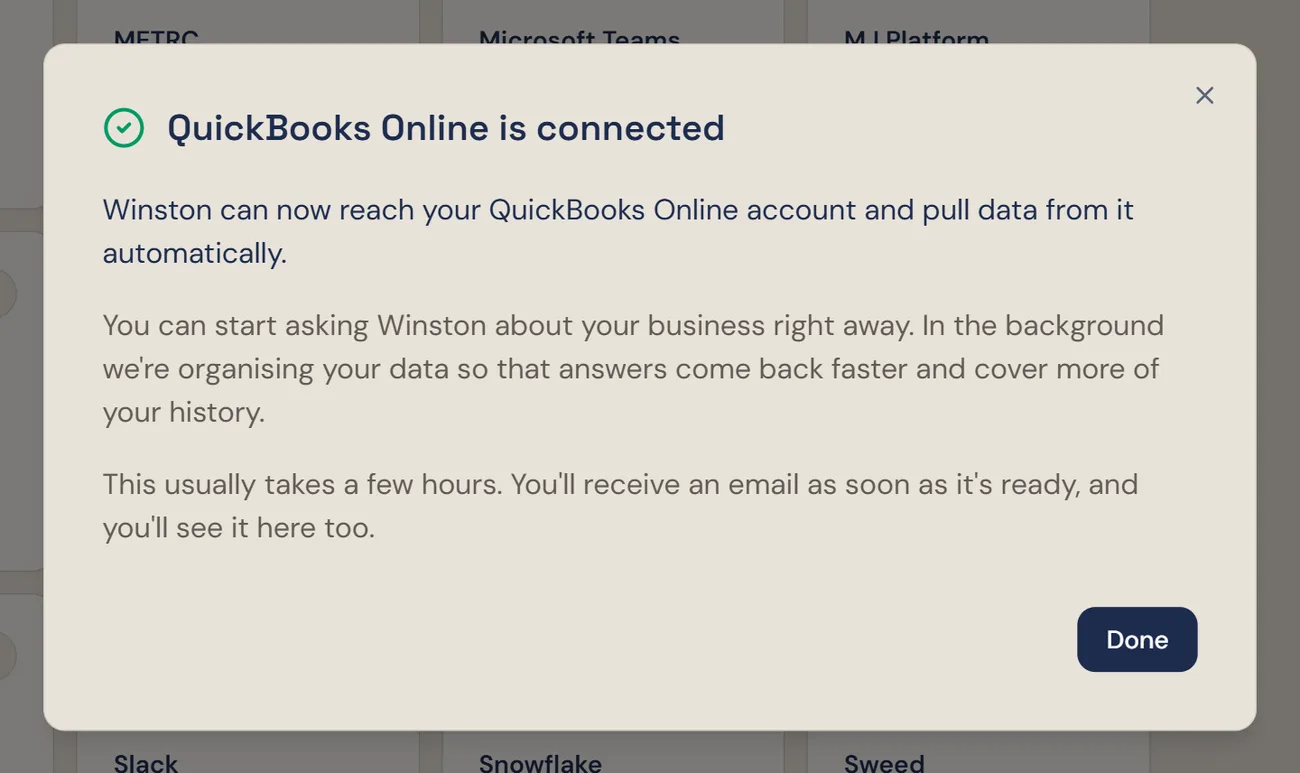
Winston confirms it with a dialog of its own. The connection is usable straight away in Chat; the note about organising your data in the background refers to the history Winston loads for faster answers, and the email it mentions arrives when that finishes.
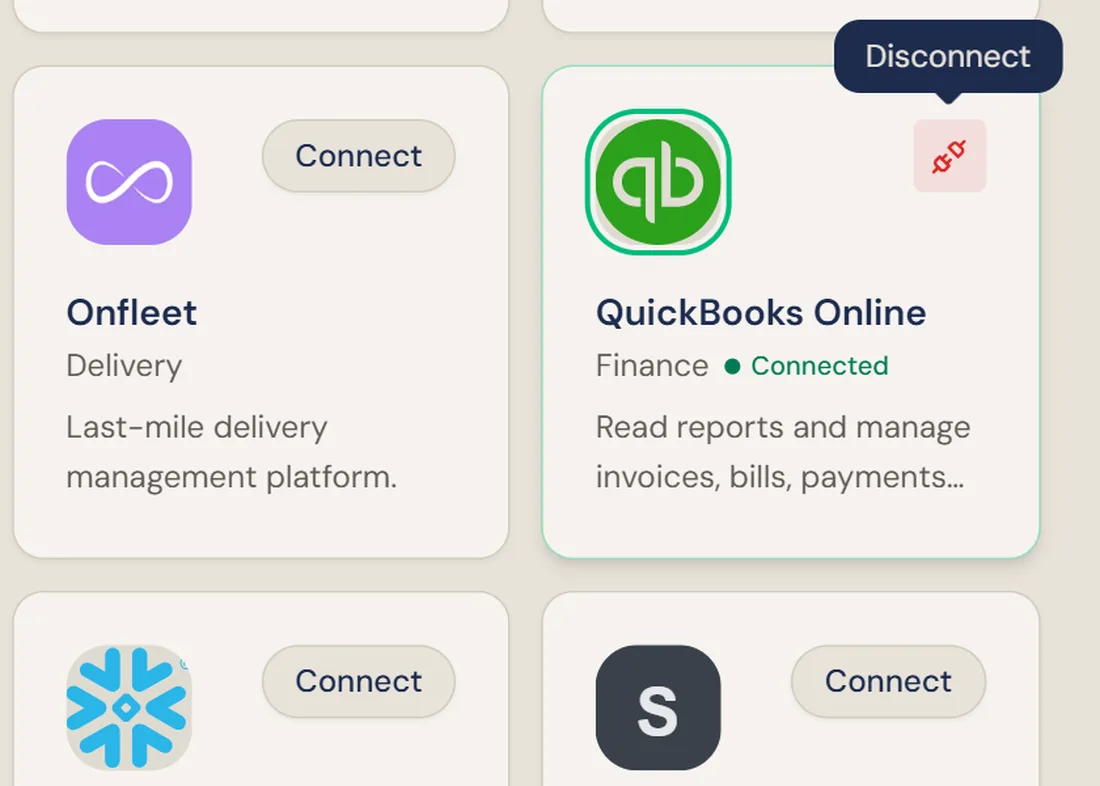
Back on Connections, the QuickBooks Online card shows Connected, with a plug icon in place of the Connect button. As with any connection, Connected confirms the authorization, not every operation Winston supports there. See Connect your tools.
Run a first check
Before relying on it, ask Winston for something small and verifiable in Chat: the open invoices for one vendor, or last month's expenses by account. Compare the answer with QuickBooks itself. A connection can be authorized and still point at the wrong company, and this is where you would see it. See Asking Winston.
Disconnect, or start over
The plug icon on the card disconnects QuickBooks for the whole workspace, after a confirmation. Scheduled work that reads from QuickBooks stops producing results until an admin reconnects it.
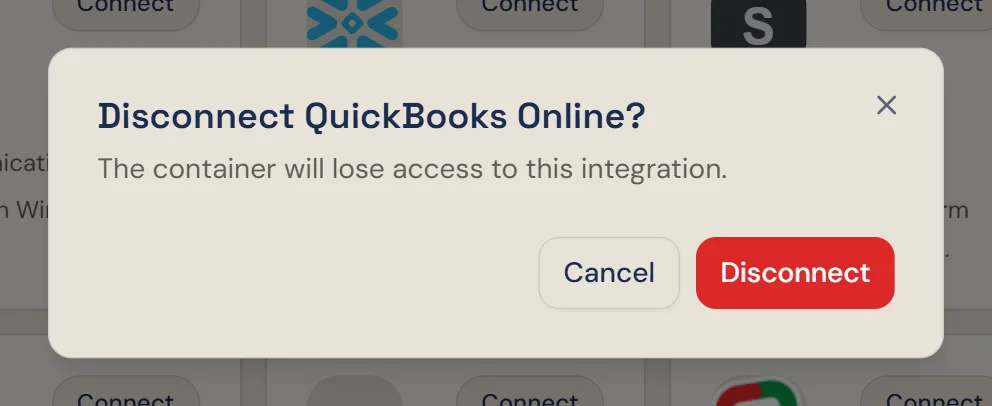
Disconnecting in Winston does not revoke the authorization on Intuit's side. To do that as well, open your Intuit account and remove Winston under connected apps. To connect a different company, disconnect first and run the steps above again with the other login.
When it does not work
- "QuickBooks Online didn't accept these details. Failed to complete OAuth flow" appears in the Winston dialog when one of the windows was closed before Intuit finished. Choose Connect with QuickBooks Online and complete every step this time.
- Intuit says you cannot authorize apps. Your Intuit login is not an admin on that company. Ask the company admin to run the steps, or to make you one.
- Connected, but answers come back empty. Check that the company Intuit named is the one you meant, then try a read for a date range you know has activity.
Anything else, see Troubleshooting or contact Support from the dashboard.